Designing a dark, immersive setup demands careful choices that improve sound while keeping the vibe intact. They must balance function and style so the space feels moody, not cluttered.
Many players struggle to find solutions that blend into deep walls without looking industrial. By choosing the right materials and finishes, they can keep a sleek, modern look and still tame echo during long sessions.
Professional designers suggest using high-quality panels in matching tones and minimal profiles. Brands like Razer and Bose show how discreet elements can boost sound and preserve atmosphere.
The guide that follows explains how to select, place, and finish these elements so the setup stays visually striking and acoustically tuned. The result is a polished, functional space that supports focus and immersion.
Understanding the Role of Acoustic Panels for Gaming Room Setups
Sound reflections often turn an otherwise sleek setup into a noisy, distracting space. Treating the space focuses audio and makes games, streams, and voiceovers sound clearer.
The Science of Sound Absorption
Porous materials trap sound waves by letting energy dissipate inside fibers. Installing foam on walls and the ceiling reduces reverberation and prevents echoes from masking subtle cues.
Why Gaming Rooms Need Treatment
The Arrowzoom KK1183 kit is designed to manage reflections that often plague a typical home gaming room setup. Proper installation across walls, doors, and the floor creates a private, controlled acoustic environment.
- Reduce echo and background noise to improve audio quality for streaming.
- Hear footsteps and directional sounds with greater clarity during play.
- Save time when recording voiceovers thanks to lighter post-processing.
Balancing Dark Aesthetics with Sound Absorption
Keeping a moody palette doesn’t mean sacrificing how well a space controls sound. Designers often choose charcoal or black foam that blends into deep walls so treatments vanish visually.
Target critical reflection points such as behind the monitor, on side walls, and near the ceiling. Treating these spots reduces echo and improves clarity without cluttering the space.
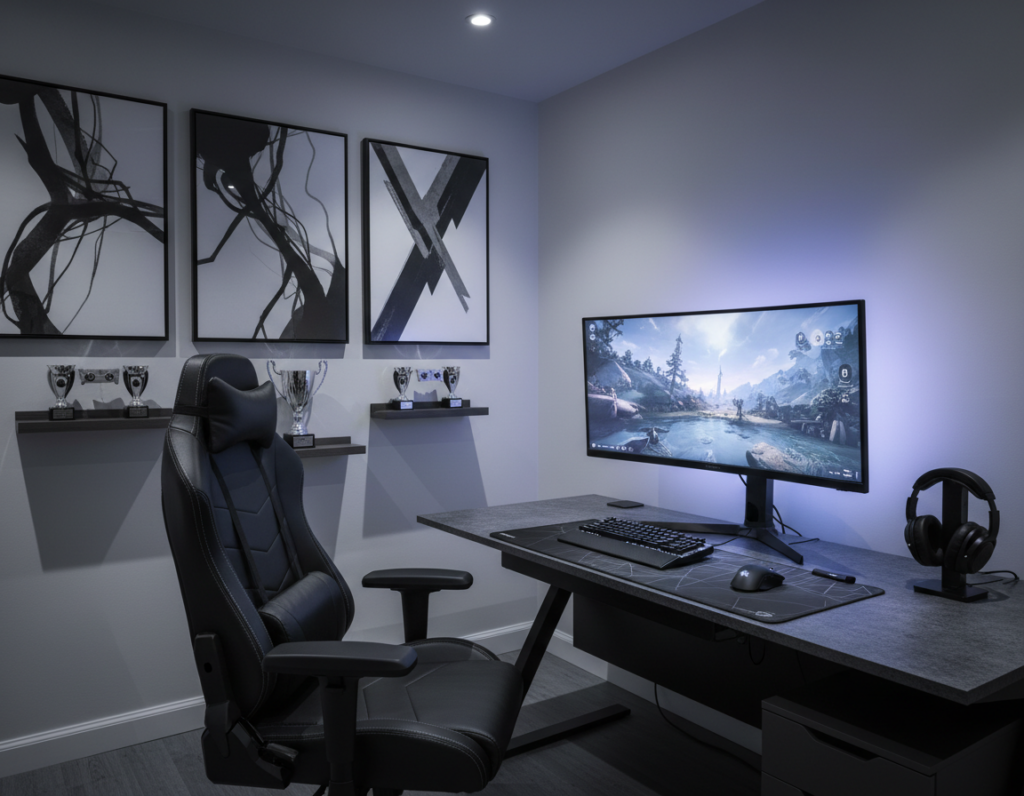
Many streamers use dark-themed acoustic panels to create a sleek backdrop that reads well on camera. Using fewer, well-placed pieces keeps the setup minimal and professional.
- Choose textured black foam to hide seams while boosting absorption.
- Focus on direct reflection zones rather than covering every wall.
- Use subtle lighting to reveal texture and avoid a cave-like feel.
Effective soundproofing improves the streaming experience and the quality of recorded content. With careful selection and placement, the home studio stays stylish and sonically tuned.
Selecting Materials That Complement a Dark Theme
Choosing the right materials makes a dark setup feel intentional rather than haphazard. The goal is to balance visual style with sound control so the space looks curated and performs well.
Comparing Foam and Decorative Acoustic Art
Traditional foam remains a practical option. Standard 50x50cm foam tiles deliver predictable coverage. Look for an NRC rating between 0.4 and 0.7 to ensure reliable absorption.
Artextured 3D impasto art offers a gallery-quality alternative. Its textured faces hide seams and add depth without a factory look. The brand has over 3,500 five-star reviews, showing strong user satisfaction and proven performance in real setups.
- Choose foam for uniformity and easier installation.
- Choose Artextured if design and visual impact matter equally to sound.
- Verify product rating and material quality before purchase.
Strategic Placement for Maximum Audio Clarity
Where you place sound treatment matters more than how many pieces you buy. Focus on the first reflection points on the left and right walls beside the desk. These areas cause immediate bounces that blur dialogue and game cues.
Install treatment on the ceiling above the desk to cut vertical reflections. Treat the wall directly behind the monitor to stop mid‑range echoes that harm streaming quality.
Corner traps tame low-frequency buildup. A rug on the floor reduces reverberant noise and balances absorption across the space.
“Placing a few targeted treatments often yields clearer audio than covering every surface.”
- Mount panels near speakers and microphones to tighten audio image.
- Secure installation prevents pieces from falling during intense play.
- Allow time to experiment; small moves can greatly improve sound quality.
Result: A focused setup that reduces echo, improves audio, and makes streaming or content creation feel more professional and immersive.
Managing Noise Leakage and Room Echo
A compact plan that treats both airborne noise and structural vibration will keep long sessions civilized. They should aim to limit what leaves the space and what reflects back into it.
Addressing Airborne Noise
Seal gaps around doors and window frames first. Even small cracks let sound waves pass into adjacent rooms.
Use mass-loaded materials on thin walls to add weight and block loud music or shouting. Consistent use of foam on walls and the ceiling will reduce echo and lower overall noise.
Controlling Impact Vibrations
Impact sounds travel through the floor and need different fixes. Add underlayments or isolation pads beneath heavy gear to cut footsteps and moving furniture vibrations.
- Prioritize shared walls and thin doors when planning soundproofing.
- Combine foam absorption with mass and decoupling to reduce low-frequency leaks.
- Remember: 30–40 dB equals a whisper; 100–140 dB is dangerous to hearing.
“Treat both airborne and structure-borne sound to keep sessions neighbor-friendly.”
Creative Installation Methods for a Professional Look
DIY installs often match pro results when attention to alignment and finish is high. About 80% of customers install their systems themselves, so a careful approach pays off.
Start by cleaning the wall surface thoroughly. A clean surface helps adhesive strips and Velcro hold longer and avoids patchy adhesion.
Use non‑permanent adhesive strips to test placement. This lets them try patterns such as checkerboard or geometric grids without damage.
For a high‑end finish, mount products on a thin wooden frame before fixing them to the wall. Framing gives a flush, gallery look and simplifies removal.
Lighting matters. When streaming, angle lights to create depth across textured surfaces and make the background read well on camera.
“Measure, level, and align every piece—precision makes the final aesthetic feel deliberate.”
- Try mixing shapes and sizes to personalize the setup.
- Choose spray adhesive for permanence or Velcro for flexible arrangements.
- Take time measuring; neat rows look professional and improve audio coverage.
For more layout ideas, check this installation gallery.
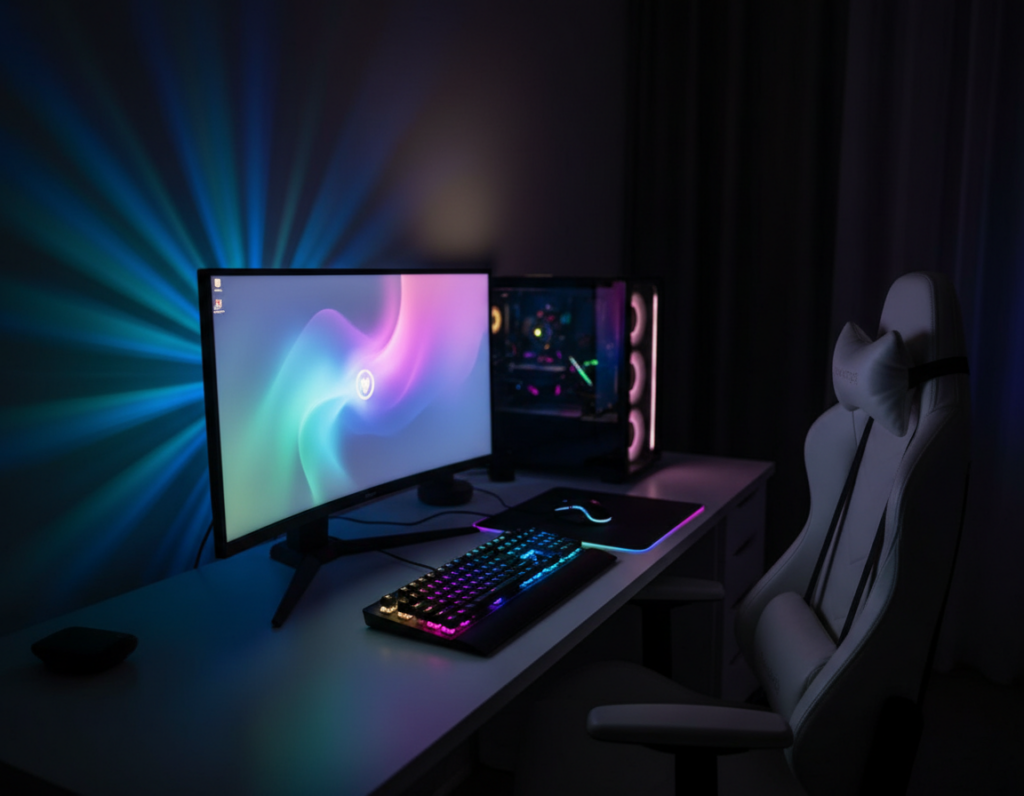
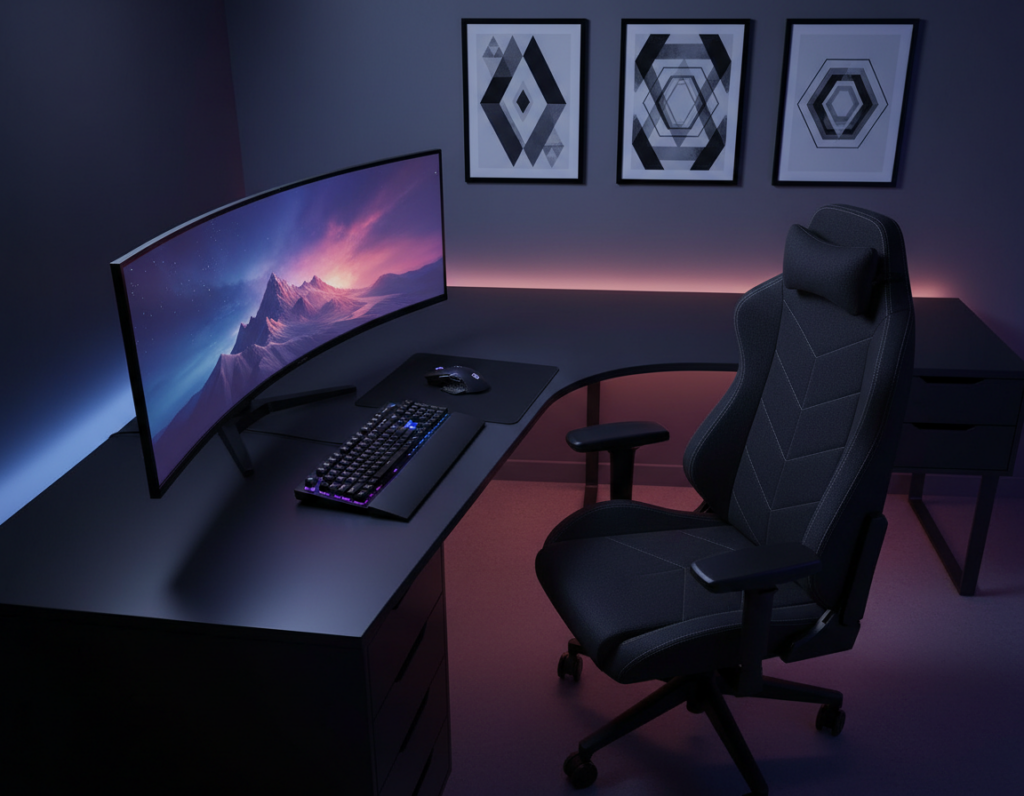
Enhancing the Atmosphere with Lighting and Texture
Subtle backlighting can make functional treatment read like deliberate decor. Light and texture work together to lift a dark setup from flat to immersive. They shape depth and highlight surface detail without changing layout.
Integrating LED Strips
Place LED strips behind foam panels to produce a soft halo that shows off texture and hides seams. This creates separation between the wall and gear, making speakers and monitors pop on camera.
Using Textured Surfaces
Wedge or pyramid foam catches light differently than flat material. That contrast adds motion as someone moves, so the space feels active and less static.
Color Coordination
Match tones across walls, ceiling, and floor to keep the background cohesive. Use one accent color in LEDs to tie together speakers, desk elements, and foam patterns.
- Backlight behind treatment to emphasize texture and reduce visible seams.
- Mix neutral base tones with one vivid accent for streaming content.
- Use different foam shades to form subtle patterns that complement gear.
“With the right lighting and texture, even a small room can feel like a professional sanctuary.”
Avoiding Common Design Mistakes
Skipping key checks during product selection often causes poor audio and wasted time. Buyers should verify NRC and read ratings to avoid foam that looks right but performs poorly.
Don’t cover every wall. Too much treatment can kill ambience and make the space feel dead. Target critical reflection zones instead.
Watch installation closely. Crooked or uneven panels ruin a professional design and can create uneven sound. Take time to level and align each piece.
- Check the product rating and NRC before purchase.
- Treat the ceiling — it’s a major source of echo and noise in small rooms.
- Avoid cheap, low-density foam; choose thicker acoustic foam when higher absorption is needed.
They should test placements before final fixes. A staged setup saves rework and ensures the best sound. Choosing the right options—whether basic soundproofing or a streamer-grade layout—matters most.
“A well-designed room avoids these pitfalls and yields both great aesthetics and clear audio.”
Conclusion
Intentional design decisions let a sleek aesthetic coexist with clear, controlled sound. By prioritizing placement and high-quality materials, a dark setup can feel polished and perform well.
Start with targeted treatments on the main wall and first-reflection zones. Choosing between traditional foam and decorative acoustic foam lets them match function to style while keeping the space cohesive.
Proper soundproofing improves streaming quality, focus, and comfort. For practical coverage tips and product guidance, consult this soundproofing guide.
Investing in the right treatment gives lasting returns—better audio, cleaner visuals, and a more professional space that supports both hobby and career.