Transforming a bare room into a curated game space can be simple and affordable. The UK wall art market hit USD 3.32 billion in 2024, showing there are many accessible options for every budget.
They focused on selecting high-quality prints and thoughtful frames to give the room a cohesive theme. Small changes, like vintage posters paired with modern artwork, help the area feel professional without a big spend.
This guide shows how to organize a collection so the game room looks intentional and personal. It covers smart design elements, budget-friendly decor, and ways to use LED lighting to make the space pop.
For deeper tips on material selection and layout, see a practical walkthrough on mastering visual content and presentation in this short design guide.
Defining Your Personal Gaming Aesthetic
Identify a central aesthetic that ties prints, frames, and lighting together. This helps the room feel deliberate and polished. With the industry at $188.8 billion in 2025, finding art that matches every game passion is easier than ever.
Identifying Your Favorite Genres
Start by listing the genres he or she plays most. Retro platformers, RPGs, or competitive shooters each suggest different color choices and imagery.
Choose prints that echo those genres. This keeps the room cohesive and makes the game room feel curated rather than random.
Reflecting Personality Through Art
The artwork should feel authentic. Whether a fan of vintage video game posters or minimal modern prints, the selection says something about the person who uses the space.
- Consistency: Pick a single theme or palette for the main walls to tie everything together.
- Quality over quantity: Invest in a few strong prints rather than many mismatched pieces.
- Personal touches: Add small items that reference favorite titles to make the room uniquely theirs.
- Versatility: Use neutral frames to swap artwork as tastes change.
“A focused theme turns a corner of the home into a sanctuary that represents real passion.”
Curating Captivating Gaming Gallery Wall Ideas
Pick a visual anchor for the room so every piece reads as part of a considered collection.
Start small: choose one large print or poster that sets the tone. Then add 3–5 supporting pieces that echo its palette or subject.
With the gaming posters market projected to hit $728.3 million by 2033, variety is easy to find. Select prints that spark conversation when friends visit the home.
Mixing formats—a matte poster beside a framed art print—creates depth without clutter. Aim for high-quality artwork so the space feels polished and lasts.
- Grid layouts suit symmetrical rooms and make a strong focal point.
- Salon-style clusters add personality and tell a story about favorite titles.
- Every piece should contribute to the decor and reinforce the chosen theme.
“A thoughtful collection turns a room into a social hub that showcases personality.”
Selecting High-Quality Prints on a Budget
Investing in better prints pays off when a small space must feel polished and lasting. Choosing a few strong pieces will lift the entire room without blowing the budget.
Investing in Archival Materials
Archival inks on acid-free paper keep wall art vibrant and prevent yellowing. This matters more than the initial price for any game room that should age well.
Giclée prints emulate museum quality and often outlast standard posters. They are a cost-effective choice when the goal is durable, fade-resistant art.
- Select 2–4 key prints that define the style of your space.
- Prioritize archival paper and UV-resistant inks for lasting color.
- Mix one statement piece with smaller supporting artwork to save money.
By focusing on quality over quantity, they avoid cheap mass-produced decor that fades fast. This guide helps collectors choose prints that make a modest game room feel curated and intentional.
“A few well-made pieces say more than a crowded, low-quality display.”
Mastering Layout and Spacing Techniques
Proper layout choices let each piece breathe and raise the overall look of the room. Planning first saves time and produces a mature, well-designed result that suits most users.
The Floor Mockup Method
Use a floor mockup to arrange prints before any drilling. Lay the artwork face-up on the floor to test groupings and proportions.
This approach shows how the collection will read at eye level and helps avoid repeated holes in a wall. It is the best way to ensure the arrangement feels intentional.
Maintaining Consistent Gaps
Consistency matters. Keep 2–3 inches between frames to prevent a chaotic look. For pieces above furniture, allow 15–20 cm to visually connect the two.
Set the center of the display at about 145–152 cm from the floor for a comfortable viewing height for most people.
Balancing Focal Points
Create a clear focal piece that anchors the arrangement. Surround it with smaller art and balanced frames so the eye moves naturally across the space.
- Consider the average fan age (36) when choosing a refined style.
- Mix one strong print with supporting pieces to keep the room polished and cohesive.
- Take time to plan; good spacing turns a random collection into a curated decor statement.
Choosing Frames That Complement Your Decor
The right frame can lift modest art into a polished focal point for the entire space. Sturdy frames stop prints from sagging and make room decor read as intentional instead of thrown together.
Simple wooden frames suit vintage or retro game prints, while clean black frames pair well with modern, graphic art. Matching frames across a collection creates a unified look that feels professional in a game room.
Frames do more than finish a piece. They protect prints from dust and light and reinforce the chosen theme. Choose frames that echo existing furniture tones so the room wall feels like part of the home, not an afterthought.
- Protects prints: quality frames extend life and keep colors vivid.
- Unifies the collection: matching frames make separate pieces read as one curated display.
- Matches decor: pick frames that support the room’s style and overall look.
“A solid frame is the unsung hero that ties art to the space.”
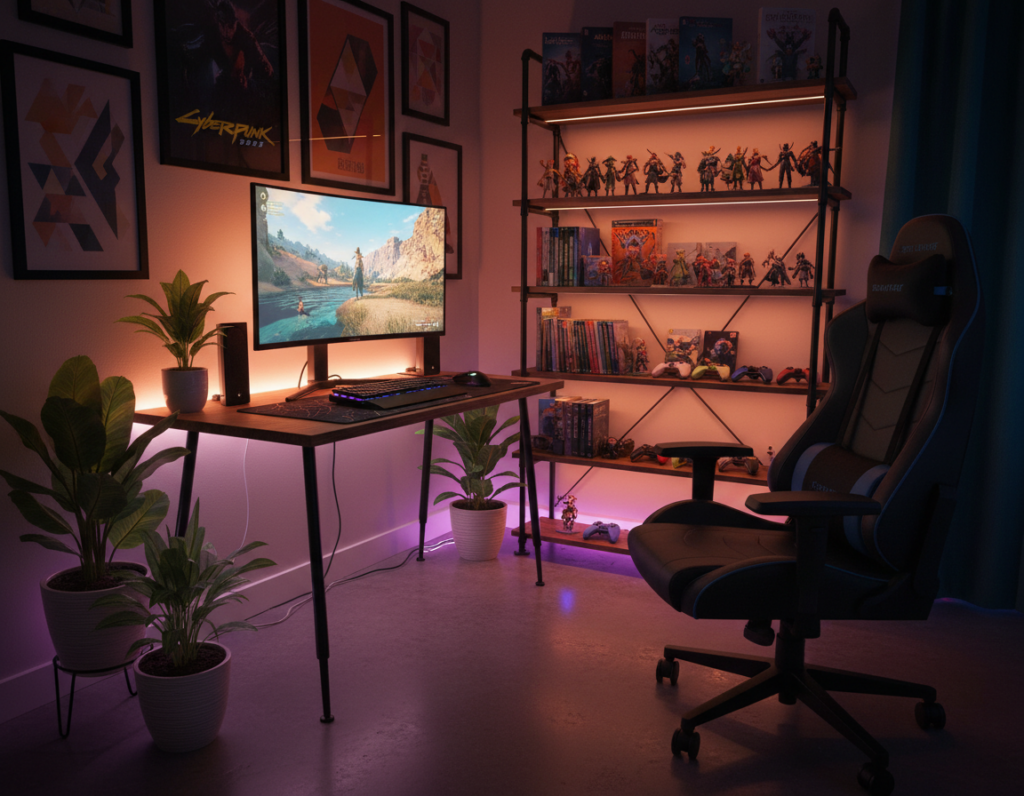
Integrating RGB Lighting for Maximum Impact
A targeted light plan helps dark artwork pop without overwhelming the rest of the decor. Integrating RGB lighting is a tactical masterstroke that lifts wall art and makes a small room feel deliberate.
Creating Contrast with Dark Art
Use contrast. Place cool-toned LED strips above a frame and angle them down about 30 degrees to create a soft spotlight. This simple setup costs under $15 and gives prints with dark backgrounds a sharper, more vibrant look.
Layering light helps the collection and frames work together. Cool blues or purples enhance similar color palette elements, while neon accents let the atmosphere shift without swapping pieces.
- Create separate lighting zones: cool tones behind monitors, warmer tones on side walls to highlight other art.
- Angle LED strips at 30° for consistent glare-free illumination.
- Use neon or accent LEDs to change mood and make the room wall the main event.
“Proper lighting transforms wall art into the focal point of a game room.”
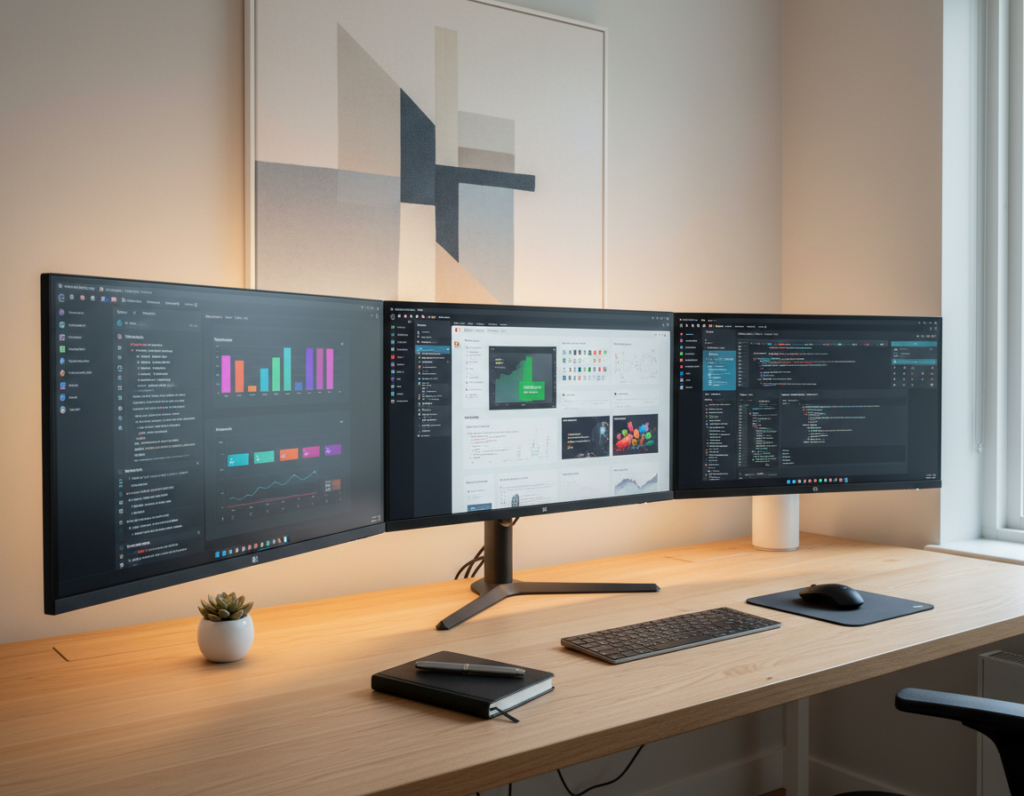
Optimizing Your Wall for Streaming Backgrounds
A clean streaming backdrop starts with intentional spacing and bold, camera-friendly pieces. Keep the focus on the presenter by planning the visible area before you hang anything.
Measure first: maintain 2–5 feet between the back of the chair and the backdrop so prints and frames read clearly on camera.
Apply the 15–25% negative space rule to avoid clutter. This ensures the background supports the facecam without competing for attention.
- Choose high-contrast art: bold shapes and simple palettes survive webcam compression better than detailed posters.
- Mark the frame: use painter’s tape to outline your camera view before hanging any frames or prints.
- Light it right: clean, even LED strips or neon accents add depth without glare.
- Keep it tidy: avoid busy, detailed posters directly behind you to prevent a muddy image on stream.
- Position matters: place key pieces where they complement, not distract from, your on-camera presence.
“A well-composed backdrop makes a home studio feel professional and keeps viewers focused on the presenter.”
For a practical walkthrough on arranging a streaming setup and selecting the right prints, see this streaming room wall art guide.
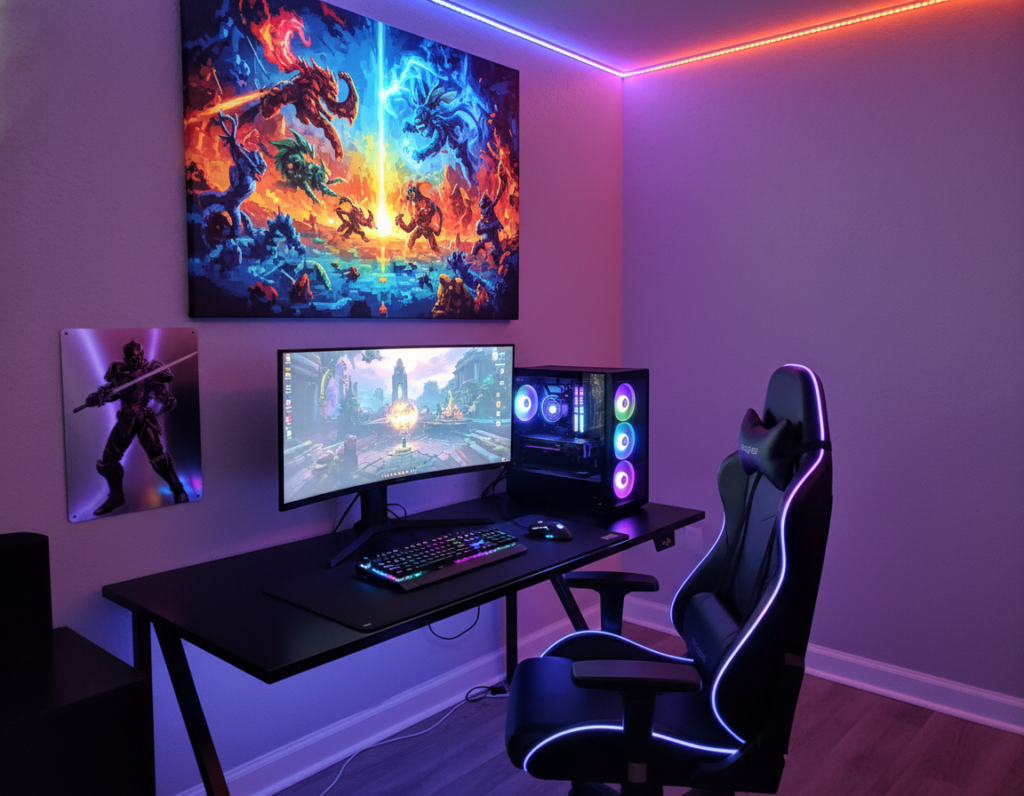
Strategic Placement for Small Gaming Spaces
In tight quarters, placing a single standout print above the monitor creates a sharp focal point without clutter. An 18×24 print centered over the desk reads professional and keeps the room feeling intentional.
They can also use a vertical stack of two smaller prints on a narrow strip of wall to add personality. This arrangement works well beside shelves or near a door and keeps the area balanced.
High-contrast artwork helps a compact space feel larger and more vibrant. Pair dark prints with neon or LED accents so colors pop and the atmosphere feels dynamic.
Use a consistent color palette across prints to unify the collection. Whether choosing vintage video game pieces or modern posters, matching tones tie the room together and give it personality.
- One anchor piece: keeps focus and reduces visual clutter.
- Vertical stacks: add height on narrow walls.
- Consistent palette: makes a small room look cohesive.
“A well-curated selection of prints can make even a small home area feel like a sanctuary.”
For more layout tips and product picks that suit a tight area, see this game room wall design guide.
Essential Tools for a Professional Installation
A small set of reliable tools turns a tentative hanging job into a precise, professional installation.
Start with accuracy: a reliable level, a tape measure, and a hammer ensure frames sit straight and aligned. They keep eye-level spacing consistent and make the setup look intentional.
Templates save paint: use painter’s tape to stick paper templates to the wall. This lets them test arrangements and avoid unnecessary holes before any drilling begins.
For heavier, high-quality frames a stud finder is essential. Anchoring into a stud prevents slips and protects both the art and the wall surface.
Many pros recommend command strips for lighter prints. These let them reposition pieces without damaging paint and make final tweaks fast and clean.
- Measure twice, mark once with a pencil.
- Create paper templates with painter’s tape to preview placement.
- Use a stud finder for heavy frames and anchors for extra security.
- Choose command strips for lightweight pieces to avoid extra holes.
“Proper preparation with the right tools is the final step in ensuring the display looks as good as it performs.”
Conclusion
A concise plan and a few quality pieces are all it takes to transform a plain surface into a standout backdrop.
In this guide, they learned how to pick archival prints, set spacing, and choose frames that lift a room. Taking the time to mock up a layout on the floor avoids mistakes and keeps the final result clean and intentional.
Keep a consistent color palette and use neon or subtle led accents to add depth without clutter. Start with one or two anchor pieces, then expand as budget and taste evolve.
Strong, simple choices in scale and light ensure the finished setup looks designed and personal. The end result serves as a reliable backdrop for streaming, displays, or everyday enjoyment.