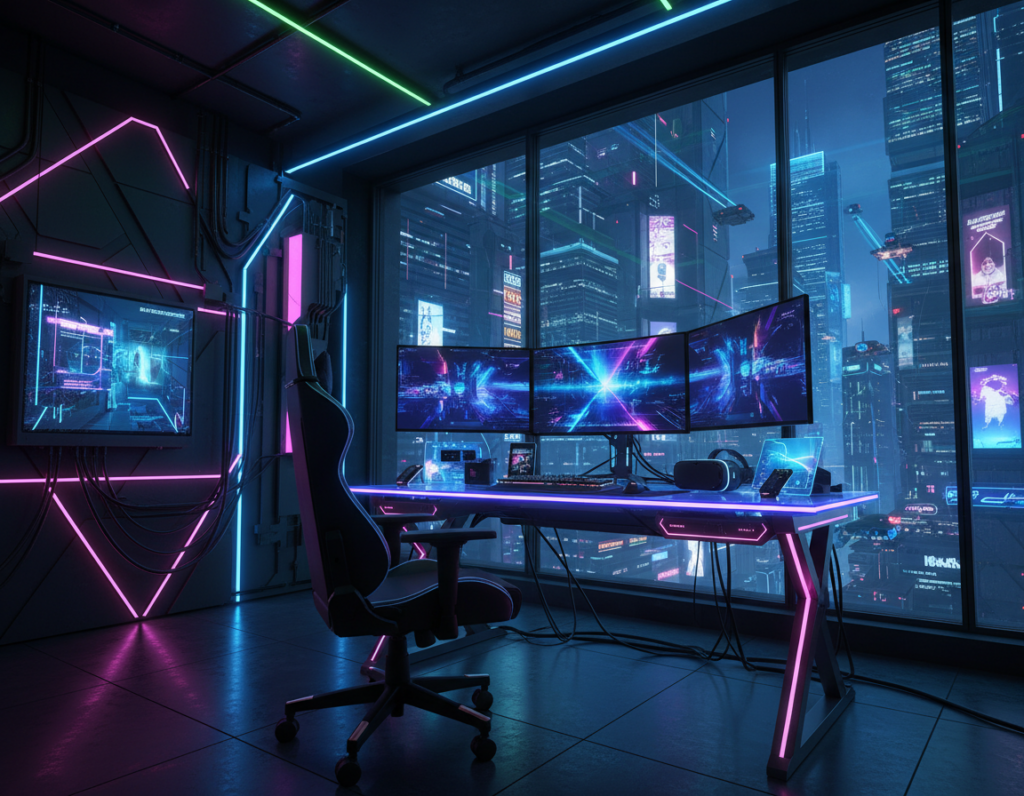
Designers and tech-forward homeowners seek subtle lighting that upgrades a gaming space into a professional studio. This introduction shows practical ways to conceal light strips while keeping a clean, premium look.
Durability matters: many of these products last up to 50,000 hours, about six years of constant use in a home. That makes them a smart investment for steady atmosphere and consistent color.
Aluminum channels and recessed edges diffuse the light evenly across a wall or ceiling. Placing lighting behind monitors or under a desk reduces eye strain and keeps glare off video screens.
With smart home control, users change mood and sync lights to music or game events for a dynamic experience. Proper placement and quality materials ensure the glow enhances a space without distraction.
Planning Your Hidden LED Strip Gaming Room Setup
Start by mapping every surface you’ll light so measurements match the final layout. A clear plan saves time and prevents excess material after installation.
Measure precisely: use a tape measure for desks, shelves, ceiling perimeters, and floor molding. Verify corners and power access points to avoid surprises.
Measuring Surfaces for Precision
Before buying any led strips, measure each run and add a small allowance for bends. A 16.40 ft (5.00 m) roll often fits most setups, but check the exact dimensions of the room first.
“Follow the bold guidelines printed on the led strip to avoid damage during installation,” says Ricardo Mitchell, electrician and construction professional.
Selecting the Right LED Type
Pick options that match the desired gaming experience. Addressable leds let gamers control individual colors for dynamic effects. Simpler strip lights offer bright, consistent room lighting at a lower cost.
- Confirm length options: 3.28 ft, 9.84 ft, 16.40 ft, 32.80 ft, 49.21 ft.
- Plan placement to hide wires behind a desk or floor molding for a clean look.
- Match the led light strips to your video setup and control needs.
Essential Tools and Materials for a Clean Installation
A clean installation begins with the right tools and quality materials. Gather cutting tools, connector kits, and reliable adhesive solutions before starting. This saves time and prevents damage to the light strips during mounting.
Power matters: most strip lights use a 2A 12V power supply for steady performance and safety. Verify the controller and power match the specification before testing any runs.
For tidy cable management, use zip ties, adhesive clips, and wire connectors. Adhesive clips are especially useful in corners to stop peeling. Test the lights and controller before permanently securing any section.
- Cut to size with a blade or scissors; follow cut marks.
- Align connectors with arrows on the controller for correct power flow.
- Use soldering or quality connectors for seamless joins where needed.
- Secure cables with ties and clips to keep the area clutter-free.
“Proper cable management is the secret to a professional-looking setup.”
Invest in high-quality materials for long-term durability in a permanent gaming setup. For detailed installation tips and repair advice, consult the manufacturer’s installation guide.
Strategic Placement for Concealed Lighting Effects
Placing lights in the right spots transforms both comfort and visual clarity for long sessions. This section outlines practical placement choices that improve contrast, reduce eye fatigue, and give a polished look.
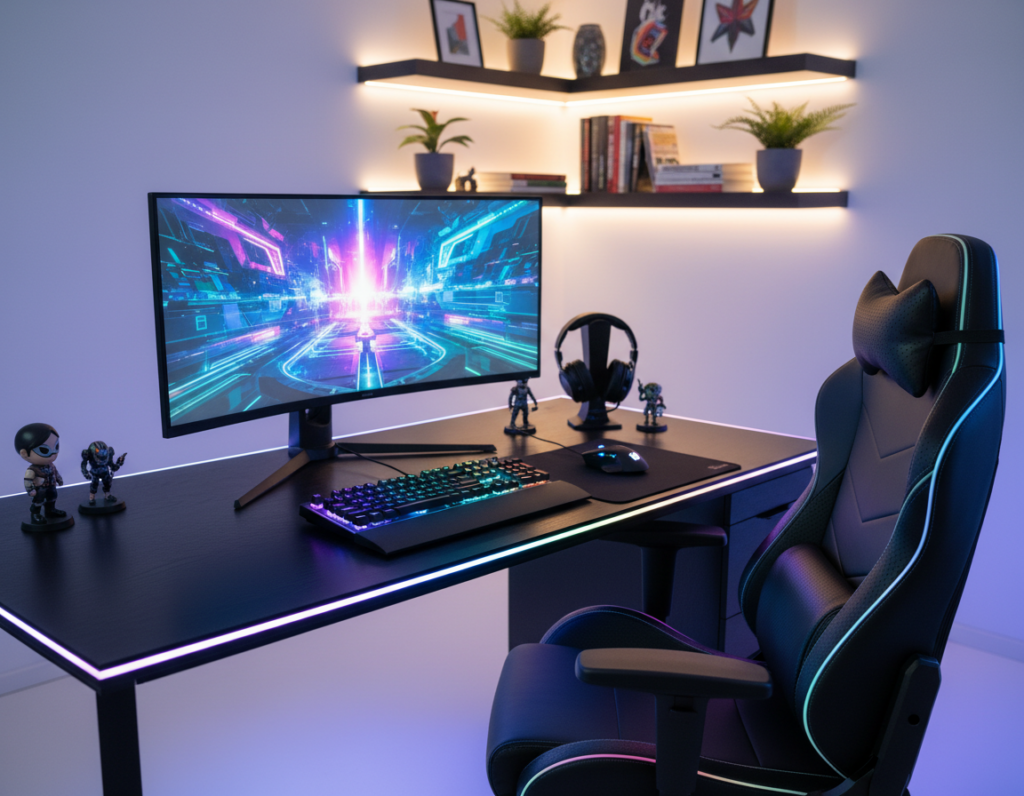
Under-Cabinet and Desk Lighting
Installing light strips under a desk or beneath cabinets produces a soft ambient glow. This reduces glare on screens and keeps the work area readable without harsh overhead beams.
Tip: Run the strip along contours and secure cables behind furniture to keep a tidy aesthetic and protect connections.
Ceiling Perimeter Concealment
Mounting lights around the ceiling perimeter defines the space and adds dramatic depth. Use channels or recessed grooves to create a diffused band of light that washes the walls evenly.
Perimeter lighting can change the mood instantly. Changing the color offers flexible ambiance for a relaxed or focused session.
Backlighting Monitors and TVs
Bias lighting behind screens raises perceived contrast and eases eye strain. Placing a strip behind a TV or monitor balances the bright display against the dark wall.
- Hide strip lights inside aluminum channels for even diffusion.
- Highlight shelves and edges to showcase collectibles and add depth.
- Run lights along baseboards for an indirect, modern look.
“Bias lighting not only improves comfort but also enhances perceived image quality on screen.”
Advanced Techniques for Diffusing and Hiding LED Strips
Professional diffusion starts with the right profile. Aluminum channels with a frosted lens convert a raw strip into smooth, fixture-like lighting. This simple upgrade reduces glare and hides the light source from direct view.
Using Aluminum Channels for Professional Diffusion
Mount the led strip inside an aluminum channel and snap on the frosted cover to eliminate hotspots. The lens blends individual diodes into a continuous band of light.
The channel also functions as a heat sink. That added thermal management helps extend the lifespan of the led lights and keeps colors stable during long sessions.
- Cut channels to fit desks, walls, or ceiling perimeters for a seamless finish.
- Secure the led strip firmly inside the profile to avoid movement or flicker.
- Use a frosted lens on glossy surfaces to prevent distracting reflections.
- Choose shallow or recessed profiles when aiming for a low-profile look.
“A quality aluminum profile turns basic light strips into premium lighting fixtures.”
Integrating Smart Controls and Synchronization
Smart control systems let lighting react to gameplay, turning static décor into an interactive backdrop. Gamers gain richer immersion when colors and effects mirror in-game events.
The Razer Chroma RGB ecosystem synchronizes led strip effects with supported titles. It deepens the player experience by matching on-screen actions with coordinated light changes.
For audio-driven effects, the Twinkly Music Dongle plugs into a USB port to sync lights to game soundtracks and voice chat. This creates pulsing colors that follow music or explosions.
- Use smartphone apps or voice assistants like Amazon Alexa to adjust color and brightness remotely.
- Group multiple lights to cover desk, wall, and floor areas for a consistent look.
- Create automated scenes so lighting turns on with the console or game launch.
“Proper cable management keeps power and data runs out of sight while adding smart controllers.”
Always confirm controller compatibility with your led strip lights to preserve color accuracy. When set up correctly, synchronized lighting transforms the gaming room into a dynamic, responsive space that matches mood and gameplay.
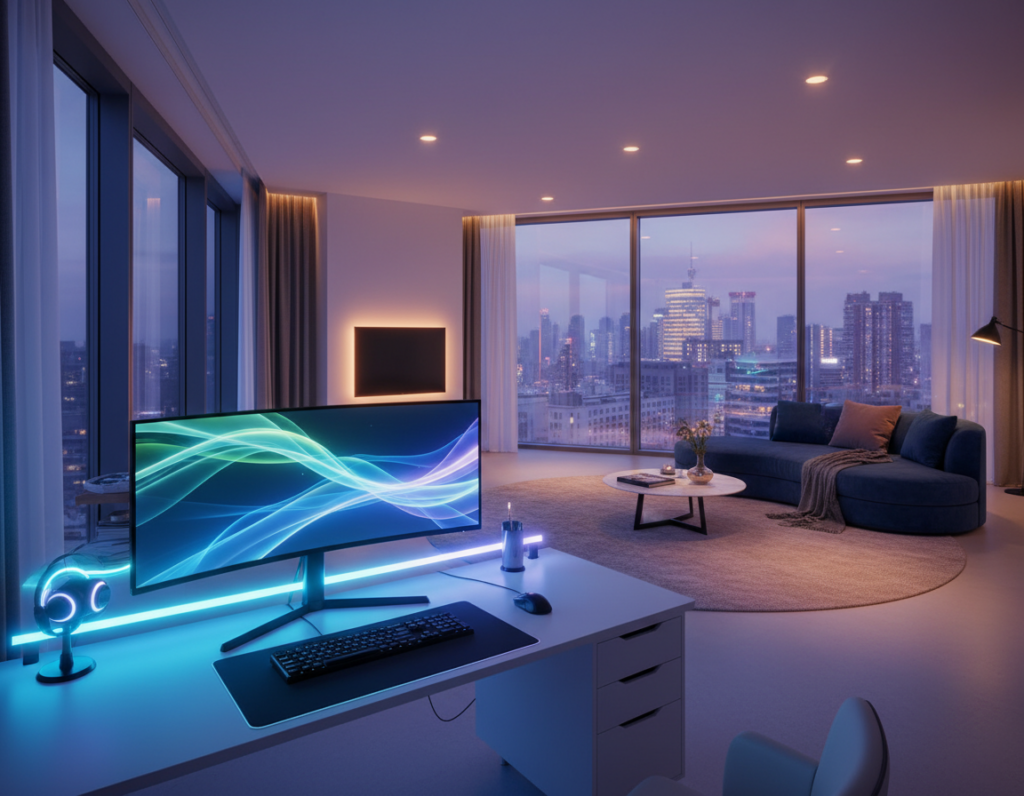
Optimizing Color Temperature for an Immersive Atmosphere
Choosing the right color temperature shapes how players feel during both tense matches and long story sessions. Proper settings let the lighting support focus or mood without competing with on-screen visuals.
Cool Tones for Competitive Focus
Cool white at about 6500K improves alertness and contrast. This setting helps reaction times and reduces visual fatigue during intense gameplay.
Use cool colors behind monitors and along the ceiling perimeter to keep attention sharp. Many led strip lights and controllers offer quick presets for this mode.
Warm Tones for Narrative Immersion
Warm light near 3000K creates a cozy, cinematic feel. It softens shadows and enhances color depth for story-driven titles.
They can cycle through rich colors or hold a single tone to match a game’s atmosphere. Players should also consider wall paint and furniture, since surfaces change how the glow looks.
- Optimize color to match the gameplay: cool for focus, warm for immersion.
- Use adjustable lighting options to switch modes by time or game.
- Experiment with colors to personalize the experience.
“Adjusting color temperature is the simplest way to tune mood and performance in a play space.”
Conclusion
Well-planned placement and consistent diffusion make the entire system feel like a single, deliberate fixture.
Creating a concealed led strip setup is a rewarding project that improves both aesthetics and performance. By planning placement, choosing quality LED strip lights, and adding smart control, a user achieves a premium visual effect.
Color temperature matters: select warm or cool tones to match mood and reduce eye fatigue. Keep cables tidy and use proper diffusion to maintain a polished finish.
With these practical steps, the space becomes an immersive, personalized environment that reflects both style and technical care.